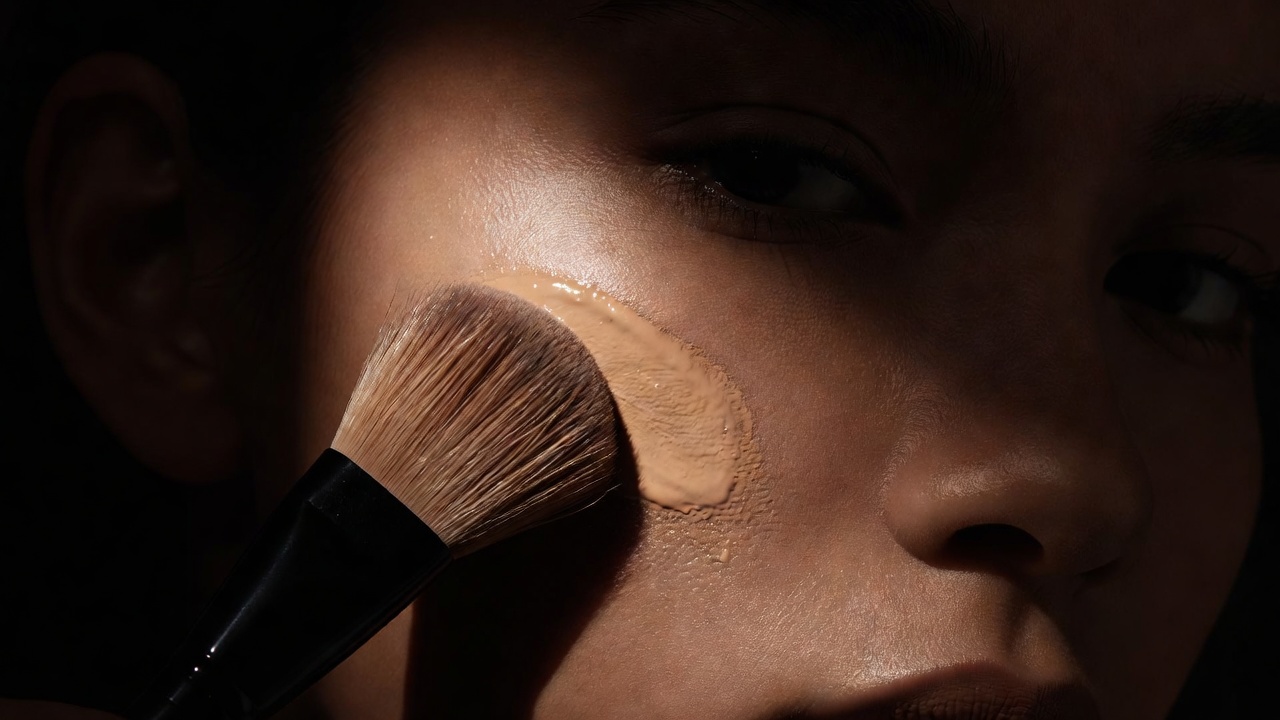
Why prep decides everything
When someone sits in my chair and says their foundation "slides off by lunch" or "looks dry around the nose", I rarely blame the foundation. I blame what happened before it. Foundation is a thin film of pigment suspended in oil, water or silicone. It can only behave as well as the surface underneath it. Dry patches grab pigment and look flaky; excess oil breaks the film apart; leftover moisturiser that has not absorbed makes everything pill into little rolls.
So we prep in layers, from thinnest to thickest, and — this is the part beginners skip — we give each layer time. Professional artists on a fashion week schedule may only get twelve minutes per model, yet most of us still spend four of those on skin. That ratio tells you how much it matters.
Read the skin before you touch it
Look at the face in neutral light, ideally near a window. Check four things: texture (smooth, flaky, enlarged pores), oil (where does it shine — T-zone only, or everywhere?), redness (around the nose, chin, cheeks) and darkness (under-eye, around the mouth). Write it down if you are learning; it trains your eye fast. Each answer changes a product choice later on.
The nine-step base sequence
- Cleanse gently. Micellar water or a mild cleanser on a cotton pad. You want clean skin, not squeaky skin — stripping triggers more oil within the hour.
- Hydrate with a thin layer. A light hydrating serum or toner pressed in with palms. Thin layers absorb; thick layers sit.
- Moisturise to the skin type. Gel for oily skin, cream for dry. Massage upward for thirty seconds — it wakes up circulation and gives a natural flush.
- Daytime SPF. Apply sunscreen as the last skincare step for daylight looks. Avoid high-flash formulas for events with flash photography.
- Wait two to five minutes. Do brows or prep your palette while it settles. If skin still feels tacky, blot gently with a tissue.
- Prime for the problem only. Pore-filling primer on the nose and cheeks if texture is the issue; a gripping or mattifying primer only where oil appears. Not the whole face by default.
- Colour-correct sparingly. Use a corrector only where discolouration is strong enough that foundation alone would need to go thick. See Lesson 03b for which shades cancel what.
- Foundation from the centre out. Dot product on the centre of the face, where redness and discolouration usually live, then blend outward so coverage fades towards the hairline and jaw.
- Set strategically. Powder the T-zone, under-eyes and sides of the nose. Leave the high points of the cheeks unpowdered for life and dimension.
Choosing your application tool
The tool changes the finish more than people expect. Same foundation, four different tools, four different faces.
| Tool | Finish | Coverage | Best for |
|---|---|---|---|
| Flat synthetic foundation brush | Smooth, slightly visible strokes if unbuffed | Medium to full | Stage, editorial, building coverage on specific areas |
| Dense buffing brush | Airbrushed, soft | Medium | Everyday and camera work; blends edges seamlessly |
| Damp makeup sponge | Natural, skin-like | Sheer to medium | Dry skin, mature skin, pressing in over powder |
| Fingers | Dewy, thin | Sheer | Tinted moisturisers and skin tints; warmth melts the product |
Concealer goes after, not before
Apply foundation first, then look again. Very often the base has already covered half of what you planned to conceal. Concealer is for what remains: a dot on a blemish, tapped with a small brush, and a thin layer in the inner corner of the under-eye where shadow is deepest. Pulling concealer in a big triangle down the cheek is a social media habit; on most faces it looks heavy in person.
Common mistakes I fix every week
- Layering skincare too fast so everything pills under the brush.
- Powdering the entire face, which flattens features and ages the skin.
- Matching foundation on the back of the hand instead of the jawline.
- Using a mattifying primer on dry skin "because the bottle says long-wear".
- Skipping a final mist: a light setting spray melts powder into the skin and removes that dusty look.
Practise this sequence three times before moving on. When it feels automatic, you are ready for Lesson 02: eyes and brows.