Brows first: map before you fill
I always start eyes with brows, because brows decide where shadow can go. A brow that is too low leaves no room for a crease shade; a brow that is too short makes a wing look like it is floating. Mapping takes thirty seconds and you only need a pencil held against the face as a straight edge.
- Find the start. Hold the pencil vertically from the side of the nostril up past the inner corner of the eye. That is where the brow should begin.
- Find the arch. Angle the pencil from the nostril through the outer edge of the iris while looking straight ahead. The highest point sits there.
- Find the tail. Angle from the nostril past the outer corner of the eye. The tail should end on that line, roughly level with or slightly above the start.
- Fill with hair-like strokes. Use a fine pencil or a powder on an angled brush, lighter at the front and crisper towards the tail. Spoolie through to soften.
The five-zone shadow method
Forget the twelve-pan palette panic. Every shadow look I teach uses five zones, and you can do all five with three shades: a light, a mid-tone and a deep.
- Prime the lid. A thin eye primer or a tap of concealer set with translucent powder, so shadow grips and creasing is minimised.
- Transition shade. A soft mid-tone, one or two shades deeper than the skin, blended in windscreen-wiper motions just above the socket. This is the blending bridge for everything after.
- Lid colour. Pressed onto the mobile lid with a flat brush or fingertip. Pressing places pigment; sweeping moves it.
- Outer V and lash line. The deep shade in a sideways V at the outer corner, then smudged along the lower lash line from the outside in, stopping about two-thirds of the way.
- Inner highlight. A touch of the light shade in the inner corner and under the brow arch only. One point of light, not a band.
A winged liner that matches
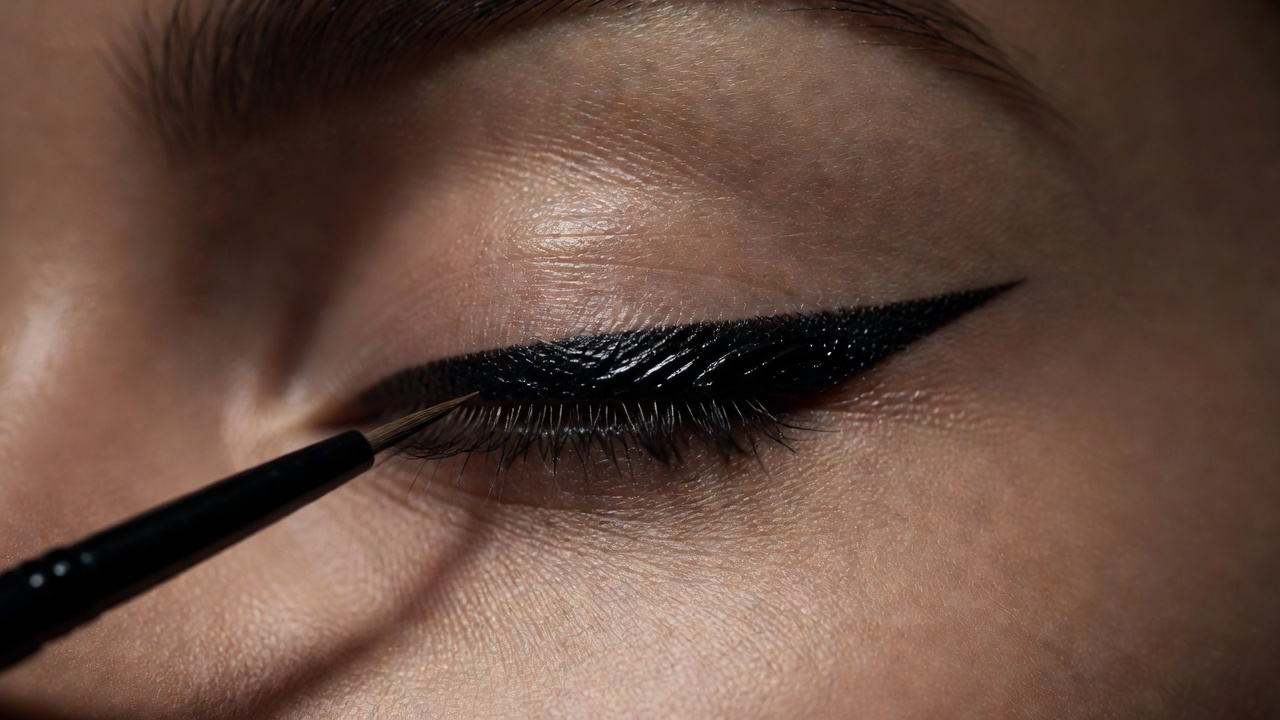
Symmetry comes from anchors, not a steady hand. Look straight into the mirror with your face relaxed, chin level. Place a small dot where you want the wing to end, following the angle of your lower lash line upwards towards the tail of the brow. Do the same dot on the other eye and compare before drawing anything. Then draw from the dot back towards the upper lash line to create the top edge, and fill the triangle from the lash line. Keep your eyes open for the anchor — eyes closed changes where the lid falls.
Picking a liner formula
| Formula | Control | Wear | Use it for |
|---|---|---|---|
| Kohl or gel pencil | Very forgiving | Moderate, smudges by design | Smoky lash lines, waterline, beginners |
| Pot gel with angled brush | High once practised | Long, sets firmly | Graphic wings, stage and bridal |
| Felt-tip liquid pen | Good, precise | Long on dry lids | Quick sharp wings, daily wear |
| Water-activated cake liner | High, colour mixable | Long, can reactivate with water | Editorial colour, theatre, body painting crossover |
Adapting for hooded and mature eyes
On hooded eyes, place the transition shade with the eye open, slightly above the natural crease, so it remains visible when the lid folds. A wing should be drawn in a "batwing" shape that skips over the fold rather than following the lash line into it. For mature lids, keep shimmer to the centre of the lid, use matte shades in the crease, and choose a softer pencil liner pressed into the lashes rather than a thick graphic line, which can catch in fine texture.
Finish with lashes
Curl lashes before mascara, never after. Wiggle the wand at the root and pull through to the tips; a second coat goes on before the first dries. If using strip lashes, trim from the outer end so they fit the eye, and set them a hair's width above your own lash line.
Next up: shaping the face itself in Lesson 03: contour and colour.