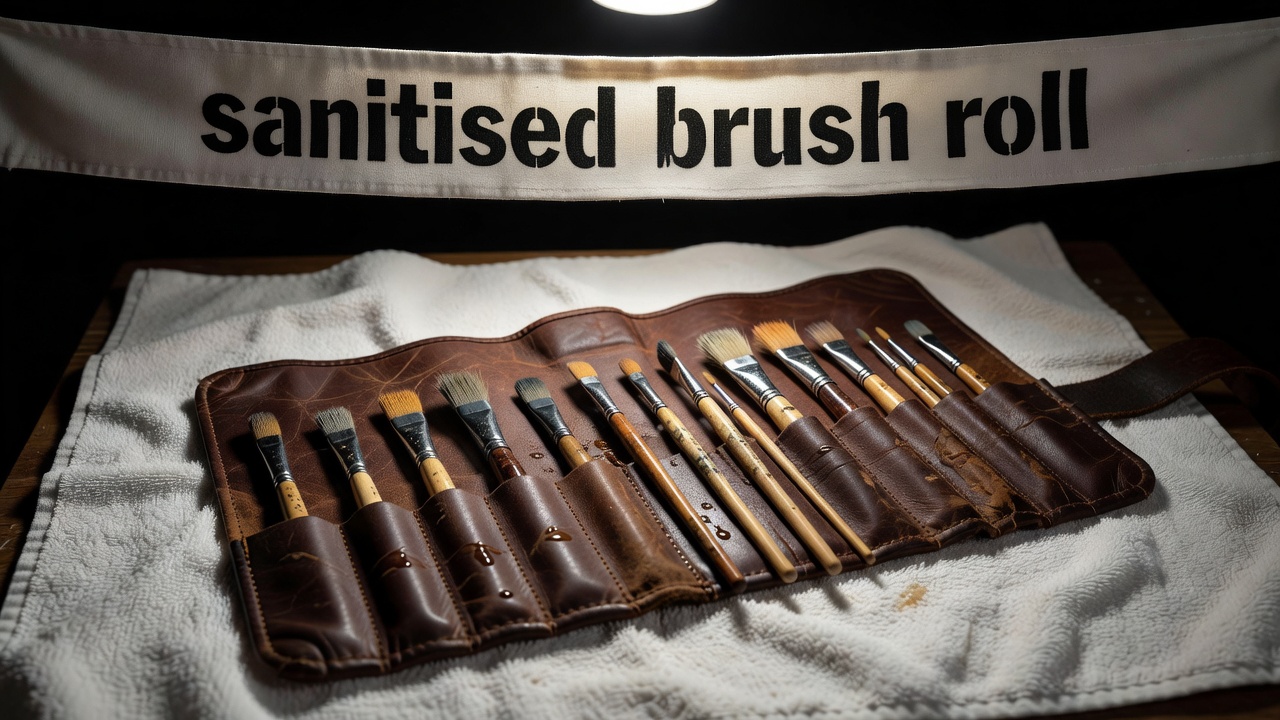
Why hygiene is a technique, not a chore
Dirty brushes do two kinds of damage. The obvious one is to skin: bristles collect oil, dead skin cells and bacteria, and pressing them back onto the face can contribute to breakouts and irritation. The less obvious one is to your work. A brush caked with yesterday's foundation won't pick up or release product evenly, so blending turns patchy and colours muddy. Clean brushes literally make you a better artist.
When I trained, the rule backstage was simple: nothing goes from one face to another without being cleaned, and nothing goes from your fingers back into a pot. Everything in this lesson follows from those two sentences.
The between-client routine
- Spot-clean every brush. Wipe excess product on a paper towel, then spray with a brush cleaner containing alcohol — 70% isopropyl alcohol is the common working standard — and wipe until no colour transfers. Let it flash off before reuse.
- Decant, don't dip. Scrape creams, foundations and lip products onto a stainless steel palette with a clean spatula. Work from the palette, never the pot.
- Sharpen pencils. Sharpen eye and lip pencils before every client to expose a fresh surface, then wipe the sharpener blade with alcohol.
- Disposable for eyes and lips. Mascara wands, lip gloss applicators and cotton buds are single-use. No double-dipping, ever.
- Sanitise surfaces. Spritz pressed powders and the tops of lipsticks with alcohol and let them dry; wipe tweezers, scissors and lash curlers.
- Wash hands visibly. Clean hands or sanitiser in front of the client. It builds trust before you even pick up a brush.
Deep cleaning your brushes
Spot cleaning sanitises the surface; deep cleaning removes the build-up deep in the bristles. For personal kits, wash foundation and concealer brushes weekly and powder and eye brushes every one to two weeks. Professionals deep-clean their whole kit after every working day.
Wet the bristles only, pointing downward so water doesn't run into the ferrule — the metal band — where it can loosen the glue. Swirl in a gentle soap or a dedicated brush shampoo on a textured mat or your palm, rinse until the water runs clear, squeeze gently with a towel and reshape. Dry flat or bristles-down at the edge of a counter; never upright in a cup.
Comparing cleaning methods
| Method | Time | What it does | When to use |
|---|---|---|---|
| Alcohol-based spray cleaner | 1–2 minutes, quick dry | Sanitises surface, removes top layer of product | Between clients, between colours |
| Solid brush soap with mat | 5 minutes plus drying | Deep cleans bristles and base | End of day or weekly |
| Gentle liquid shampoo | 5 minutes plus drying | Deep cleans and softens natural hair | Natural-fibre powder brushes |
| Oil-based cleanser first | Extra 2 minutes | Breaks down waterproof and long-wear formulas | After stage, SFX or waterproof work |
Know when to throw it away
Most cosmetics carry a period-after-opening symbol — the little open jar with a number like 6M or 12M. Respect it. Mascara and liquid liner are the strictest: replace them roughly every three months, which is also the guidance commonly given by the US Food and Drug Administration, and immediately after any eye infection. Throw out anything that has changed smell, separated, or developed a different texture. Powders last longest because they contain little water for bacteria to grow in.
Building a kit that is easy to keep clean
- Choose synthetic brushes for creams and liquids; they release product and wash faster.
- Prefer pumps, tubes and squeeze bottles over open jars.
- Carry two of your most-used brushes so one can dry while the other works.
- Label decanted products with the opening date.
- Store brushes in a roll or covered case, not open to the air of a busy room.
That completes the core masterclass. Revisit Lesson 01 with clean tools and you will feel the difference immediately, or bring your questions to the makeup chair.